Table of Contents
- Kitchen Staging Tips: Start With This Order
- Why This Checklist Follows the Seller Playbook Before Marketing
- Step 1: Clear Your Countertops and Surfaces
- Step 2: Organize Cabinets and the Pantry
- Step 3: Deep Clean Appliances and Clear Out Odors
- Step 4: Update Lighting and Cabinet Hardware
- Step 5: Add Warm, Simple Decor Without Personal Clutter
- Free, Low-Cost and Bigger-Investment Kitchen Staging Tasks
- Kitchen Staging Questions Davis Sellers Ask
- Next Step: Pair Kitchen Staging With Your Home's Valuation
Kitchen Staging Tips: Start With This Order
These kitchen staging tips follow one order: clear the counters, then deep clean every surface and appliance. Next, update the lighting and hardware, then add light decor. Follow this sequence before you take listing photos or hold a showing.
This order follows the preparation phase of a ten-step seller playbook, which also covers pricing, marketing and closing. That preparation step comes before the marketing phase, when sellers take listing photos and host buyer walkthroughs.
A 2025 industry survey found that 68% of real estate agents staged the kitchen when they prepared a home for sale. The same survey found buyers rank the kitchen as the third most important room to stage, after the living room and primary bedroom. A National Association of Realtors report also found that 83% of buyers' agents said staging helped buyers picture themselves living in a home.
Why This Checklist Follows the Seller Playbook Before Marketing
Listing photos are the online pictures that first bring buyers to your door. An open house is the scheduled showing where any buyer can walk through your home. A buyer walkthrough is the private, in person tour a serious buyer takes, often with their agent.
Kitchen staging fits into that same preparation window, the stretch of time before a seller takes listing photos or opens the door for a showing. The evidence below shows why that timing matters.
In a National Association of Realtors survey, 29% of agents reported that staging a seller's home led to higher buyer offers. They linked it to a 1% to 10% increase in the dollar value buyers offered.
In the same survey, 30% of agents saw a slight decrease in time on the market after staging, and 19% saw a significant decrease. This checklist is timed to finish before photos and showings start, the same window these agents were describing.
Step 1: Clear Your Countertops and Surfaces
Start with your counters. Put away small appliances, mail, and anything else that collects there day to day. A clear, clean counter gives buyers room to picture their own things in the space.
Clearing off every single item can make a kitchen feel cold in photos. Leave one or two simple objects out, like a wooden cutting board or a plain bowl. This small touch tells buyers the kitchen gets used, without making it look cluttered.
Work your way around the room: counters first, then the stovetop, then the windowsill. Check each surface before you move on to the next task.
Pay attention to the sink area too, since buyers may linger there. Clear out dish soap bottles, sponges and drying racks, or swap them for one matching soap dispenser and a small neutral mat. Open the cabinet below the sink as well, since buyers may check it for leaks or stored cleaning supplies.
Before you take listing photos, step back and look at the counters the way a camera would. An empty stretch of counter can look flat in a photo. The single styled object you kept in Step 1 adds depth without crowding the frame.
Step 2: Organize Cabinets and the Pantry
During a walkthrough, buyers and their agents may open cabinets and look inside the pantry. Plan on giving your cabinets the same clean, orderly look you gave the counters.

Keeping the stove, sink and refrigerator clear also protects the kitchen's basic layout. This path is sometimes called the work triangle, the route a cook walks between those three spots. A buyer who can move through that path without stepping around clutter gets a clearer sense of how the kitchen works for everyday cooking.
Take everything out of each cabinet and drawer. Wipe the shelves, then put items back in neat groups: pots with pots, plates with plates, snacks with snacks.
In the pantry, turn labels to face forward and group similar foods together. Clear out anything expired, and leave a little open space so the shelves look roomy, not packed.
Group canned goods, baking supplies and snacks on separate shelves so the pantry reads as organized rather than overflowing. Baskets or clear bins can corral loose items like spice packets or snack bars. That keeps the shelves tidy while your home is on the market.
This step costs nothing but time. An organized cabinet or pantry shows a kitchen that works well and has enough storage for daily life.
Step 3: Deep Clean Appliances and Clear Out Odors
Wipe down the stove top, the inside of the oven and the microwave, then clean the outside of the refrigerator. Run the dishwasher through a full cycle so buyers see it clean and empty when they open the door.
Check the inside of the refrigerator too, since some buyers open it during a showing. Wipe down the shelves and toss anything expired or half used. A clean, half-empty fridge photographs better than one packed with everyday groceries.
Empty the kitchen trash and clean the garbage disposal, since both can hold onto smells over time. Open a window or run the exhaust fan for a few minutes before each showing so the room smells fresh.
Coffee grounds, citrus peels in the disposal, or a box of baking soda in the fridge can help keep odors from building up between cleanings. Skip heavy air fresheners, since a strong scent can make buyers wonder what it might be covering up.
A kitchen that smells clean can feel more cared for than one that only looks clean. Clearing odors and wiping down appliances takes little money, just time and attention to the spots a quick tidy-up skips.
Step 4: Update Lighting and Cabinet Hardware
Swap dated light fixtures and worn cabinet pulls or knobs for simple, current styles. This swap is a low-cost way to make a kitchen feel current before photos and showings, without a full renovation.
Start with hardware, since it is usually the faster change. Unscrew the old pulls and knobs, then measure the existing screw spacing. Pick new hardware in one finish, such as brushed nickel or matte black, so every cabinet matches. For lighting, replace any fixture that looks dated or has a bulb that is out, and choose a simple design that fits the room's size.
One color choice stands out in current survey data. Olive green is currently the most popular kitchen color among surveyed homebuyers. Zillow's kitchen color analysis found that house hunters are willing to pay up to about $1,600 more for a kitchen with cabinets in that green tone. A cabinet repaint is worth a look for sellers open to it, though the survey result is not a promise for any single home.
Want a visual sense of current kitchen styles before you choose a hardware or paint finish? Browse current Davis home listings for examples of updated kitchens.
Step 5: Add Warm, Simple Decor Without Personal Clutter
The last step adds warmth back after all that clearing and cleaning. A small plant, a bowl of fruit, or a stack of folded linen towels on the counter gives the room a lived-in feel. Choose items with a natural texture or a simple pop of color, not personal items like framed photographs. That way the kitchen still feels open to any buyer.

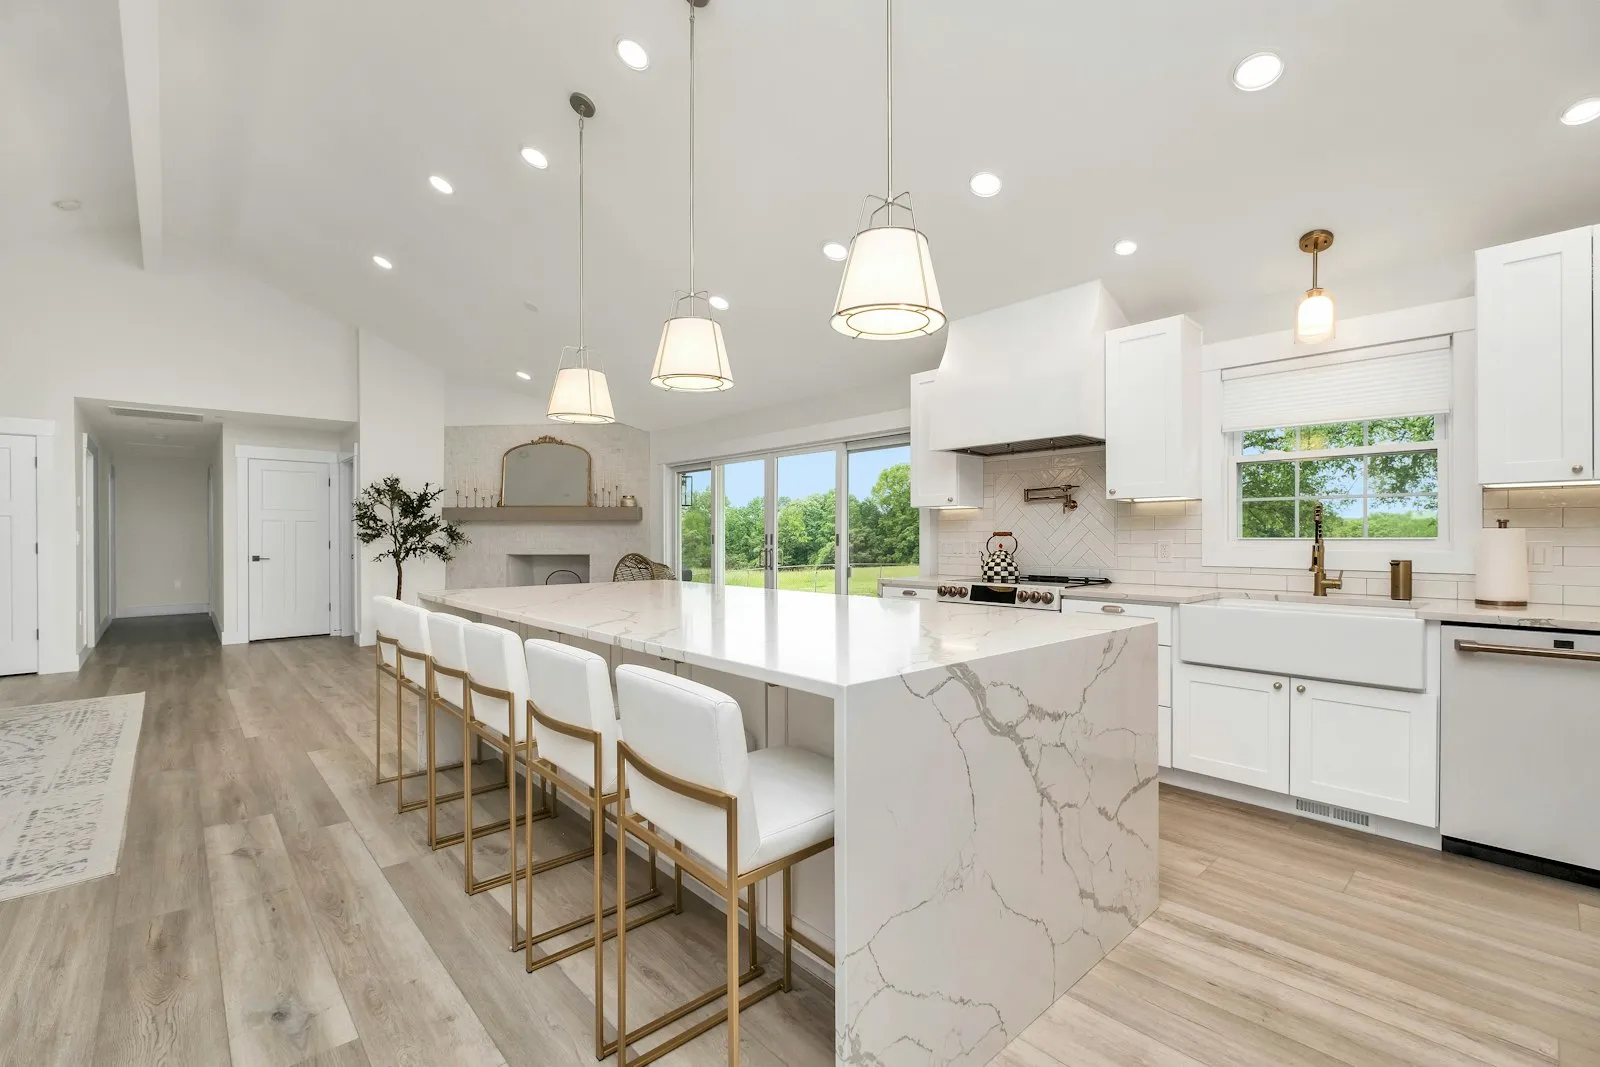
Treat your kitchen island differently than the rest of the counters. Style it with a single focal point, such as a cutting board topped with a bowl. One clear, simple grouping draws the eye without turning the island into a second cluttered counter.
If your island has seating, tuck in the stools so the space feels tidy, and wipe down any pendant lights hanging above it. A clear island gives buyers a sense of extra counter and gathering space. That matters most in open-concept layouts, where the kitchen flows into the living area.
If your kitchen is on the smaller side, light-colored towels and bare upper cabinet fronts help the room feel bigger. An open island or counter, free of extra items, reads as more spacious both in person and in listing photos. These small choices make a tight kitchen feel easier to move around in.
Walk through the finished kitchen one more time before your first showing. Check it the way a buyer would: open a cabinet, glance at the counters, and notice any lingering smell. Small fixes are easier to catch now than after the listing goes live.
Free, Low-Cost and Bigger-Investment Kitchen Staging Tasks
Most kitchen staging tasks cost nothing but your time, and only one step calls for a bigger investment. A few steps cost a small amount for new parts.
The table below sorts the five steps above into three tiers, so you can plan your time and your budget before you start.
| Staging task | Cost tier |
|---|---|
| Clear and declutter countertops (Step 1) | Free |
| Organize cabinets and the pantry (Step 2) | Free |
| Deep clean appliances and remove odors (Step 3) | Free |
| Swap cabinet hardware and light fixtures (Step 4) | Low-cost |
| Repaint cabinets (Step 4) | Bigger investment |
| Add simple decor (Step 5) | Free |
If you only have time or money for one upgrade, swap the cabinet hardware and light fixtures first. They give a visible change for a low cost. A full cabinet repaint takes more time and a bigger budget, so plan it early if you choose to do it.
Kitchen Staging Questions Davis Sellers Ask
What are some ideas for staging my kitchen?
Start by removing what doesn't need to be there: items from the counters, clutter from cabinets, and odors from the air. Once the kitchen feels clear and clean, small updates like new hardware or lighting help. A few simple decorative touches make it feel current and ready for photos.
Next Step: Pair Kitchen Staging With Your Home's Valuation
Once your kitchen and the rest of your prep work are done, the next step is to see where your home's value stands. Anna Aljabiry's website offers a free home valuation tool you can check before you set a list price.
Anna Aljabiry is a REALTOR®, DRE# 01948355. She's ready to help with your home's next step. Contact Us Today to get started.